The Idea

Learning to print, prime, paint and weather, one crate at a time.

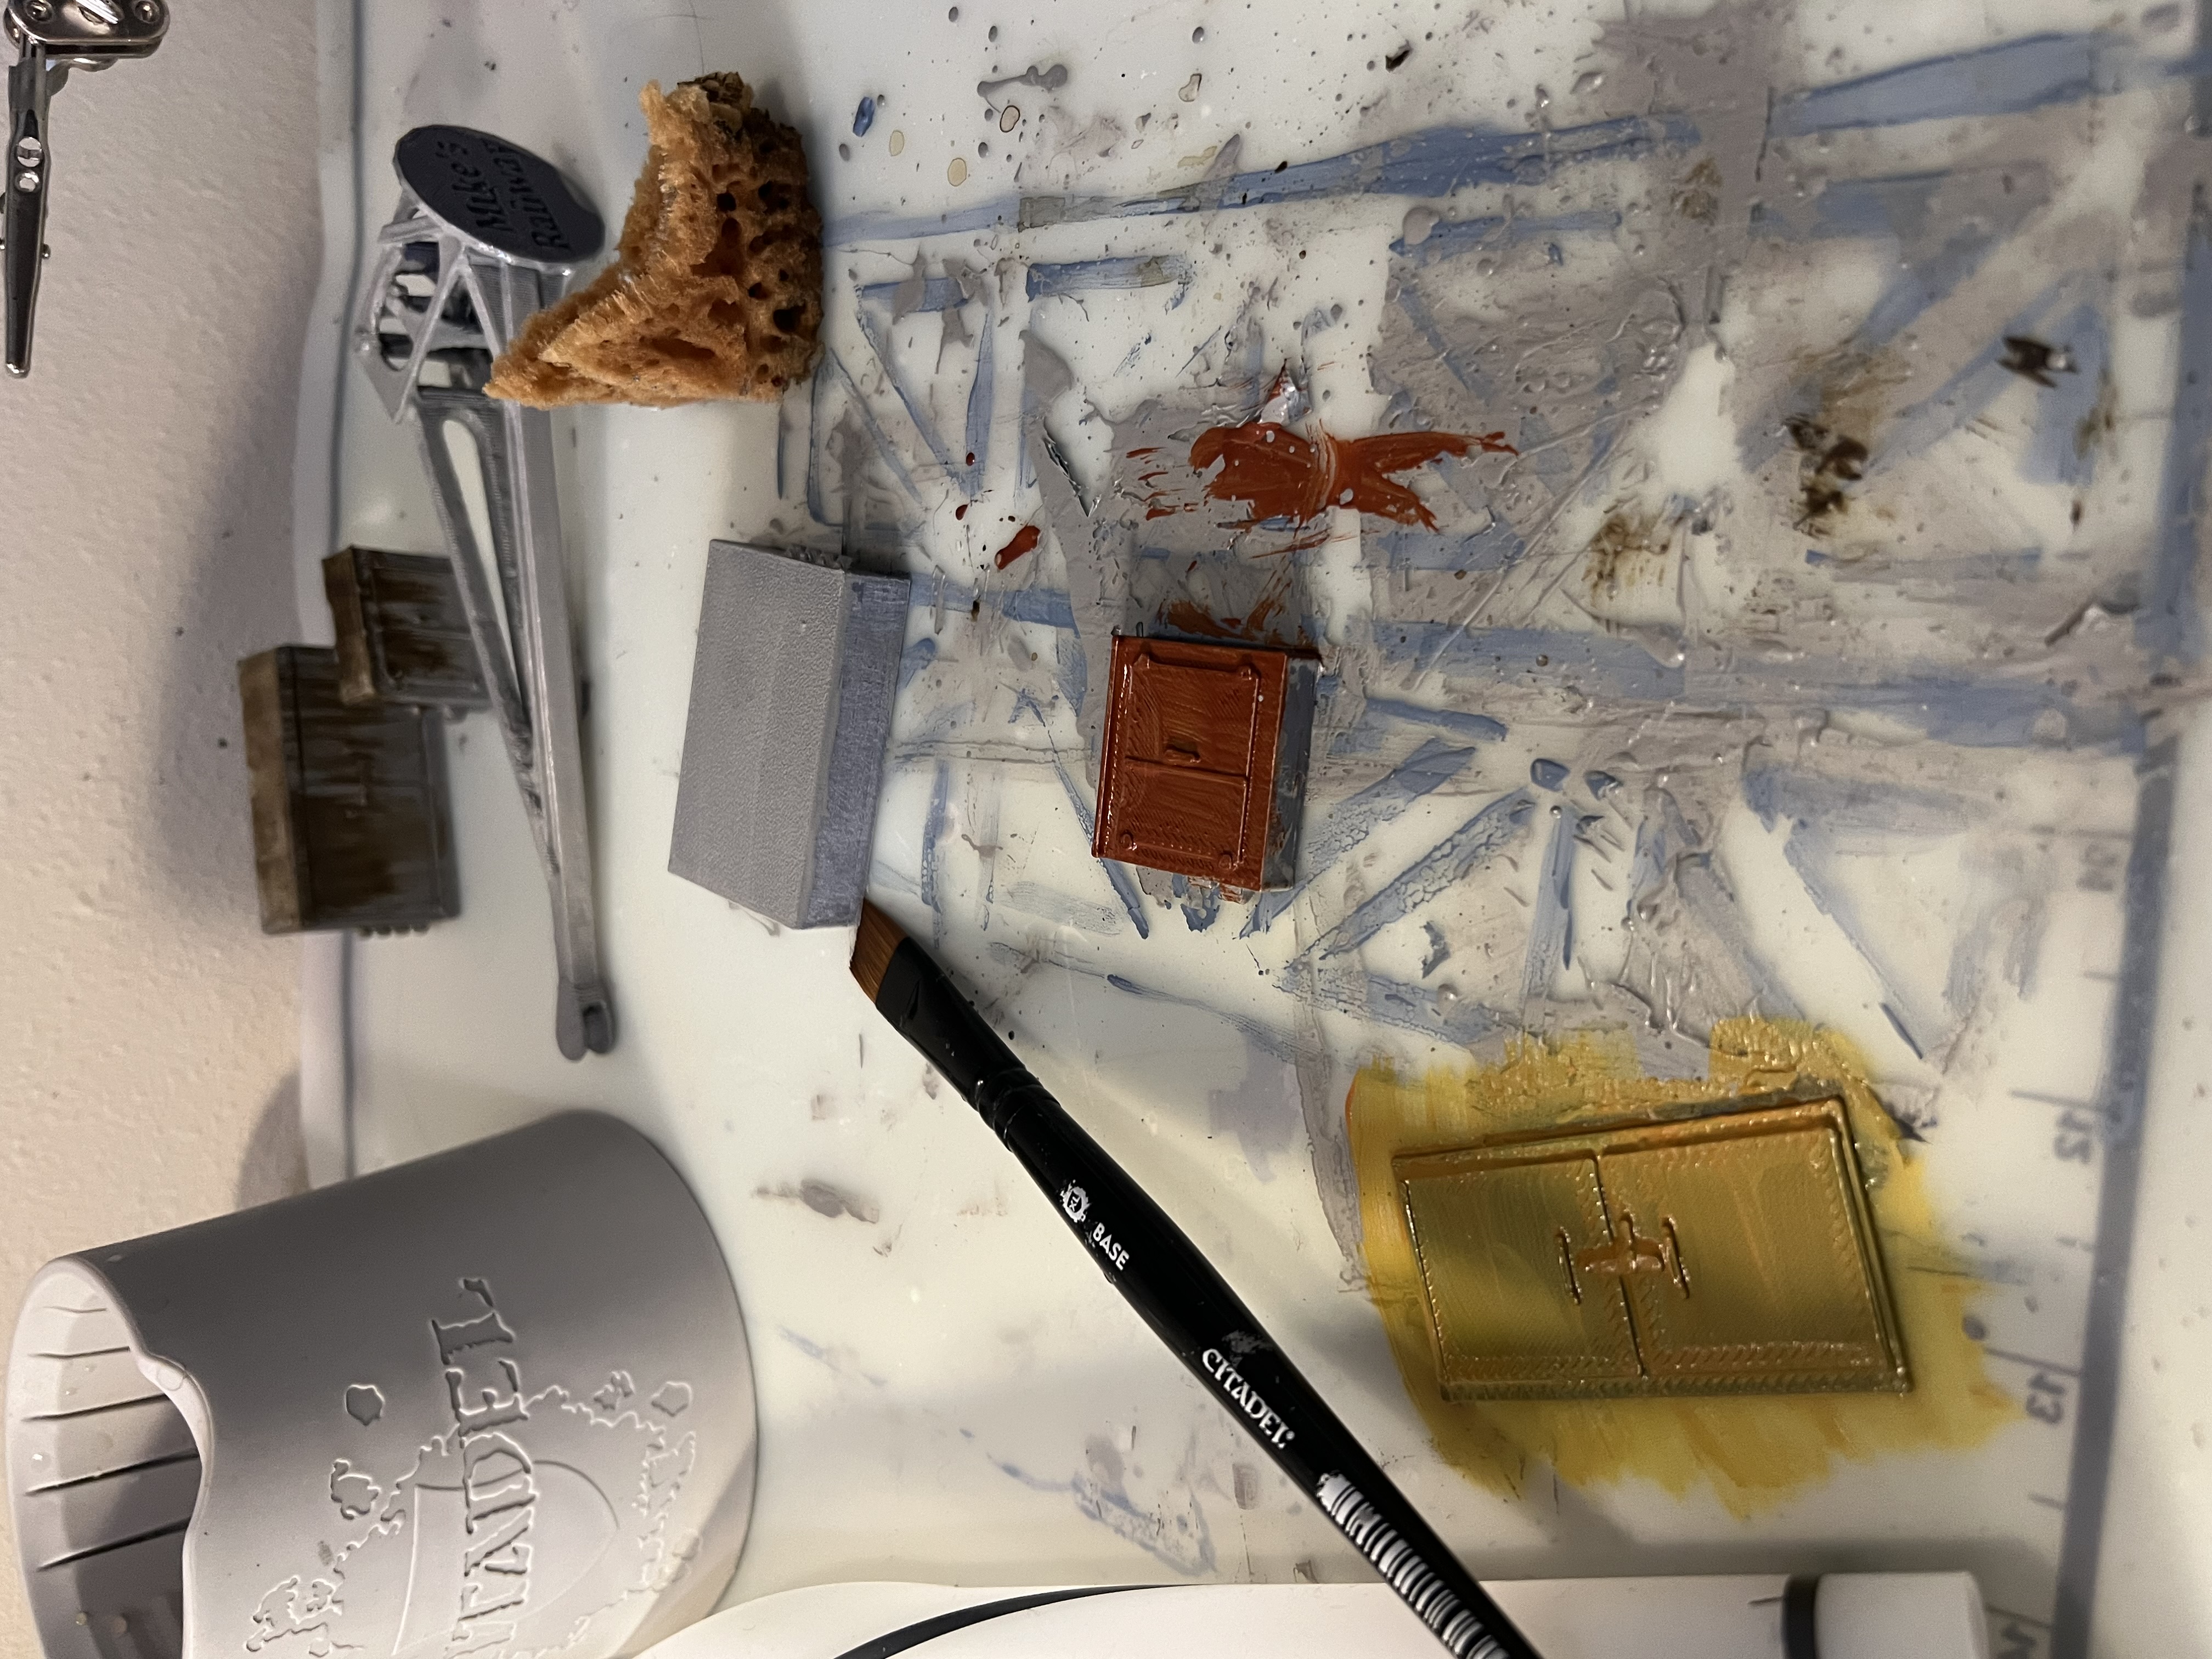
Before I could do much, I had to learn how to do anything at all. I had no experience in model making or mini painting before, so I started with some industrial pieces. Of course, I went straight to Thingiverse to look. A crate by Printed-Toys and an electrical box by NYC3D work very well for this purpose. I also thought a drinkrig could use a crane, so I found this one by Mikesrailway. It's an old rail crane, which I think the inhabitants of a drinkrig might cannibalize for moving things around.
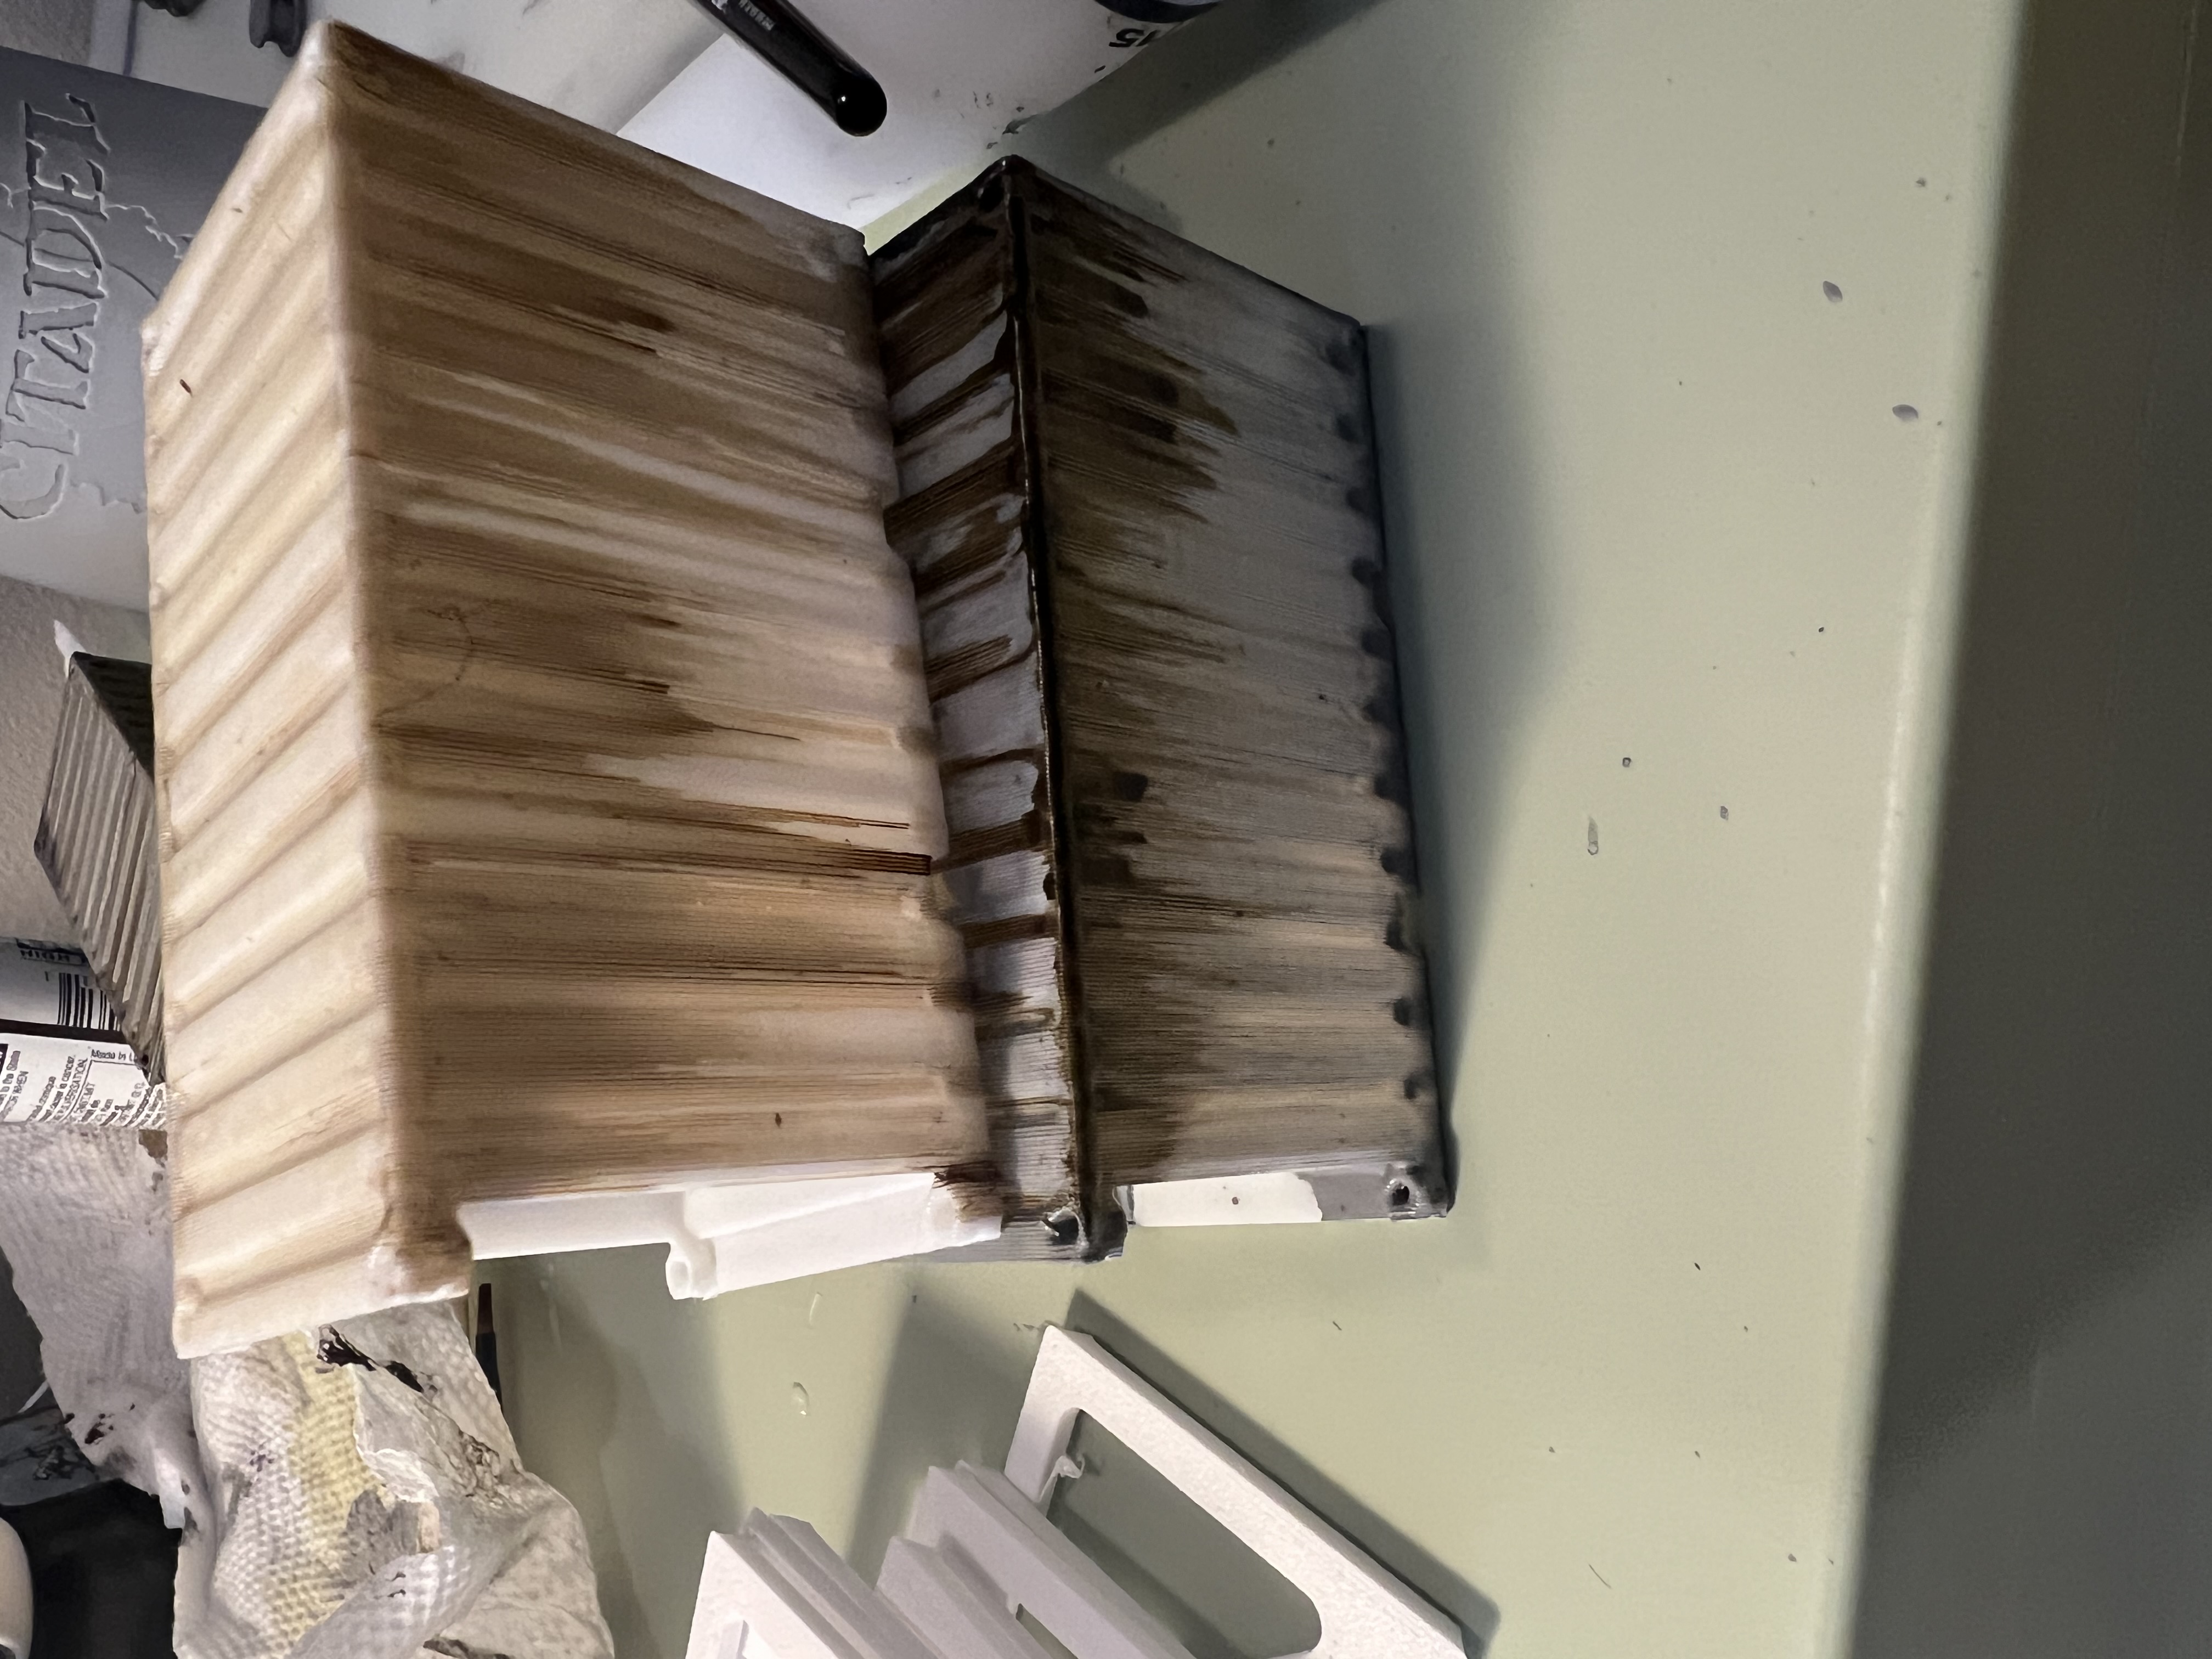
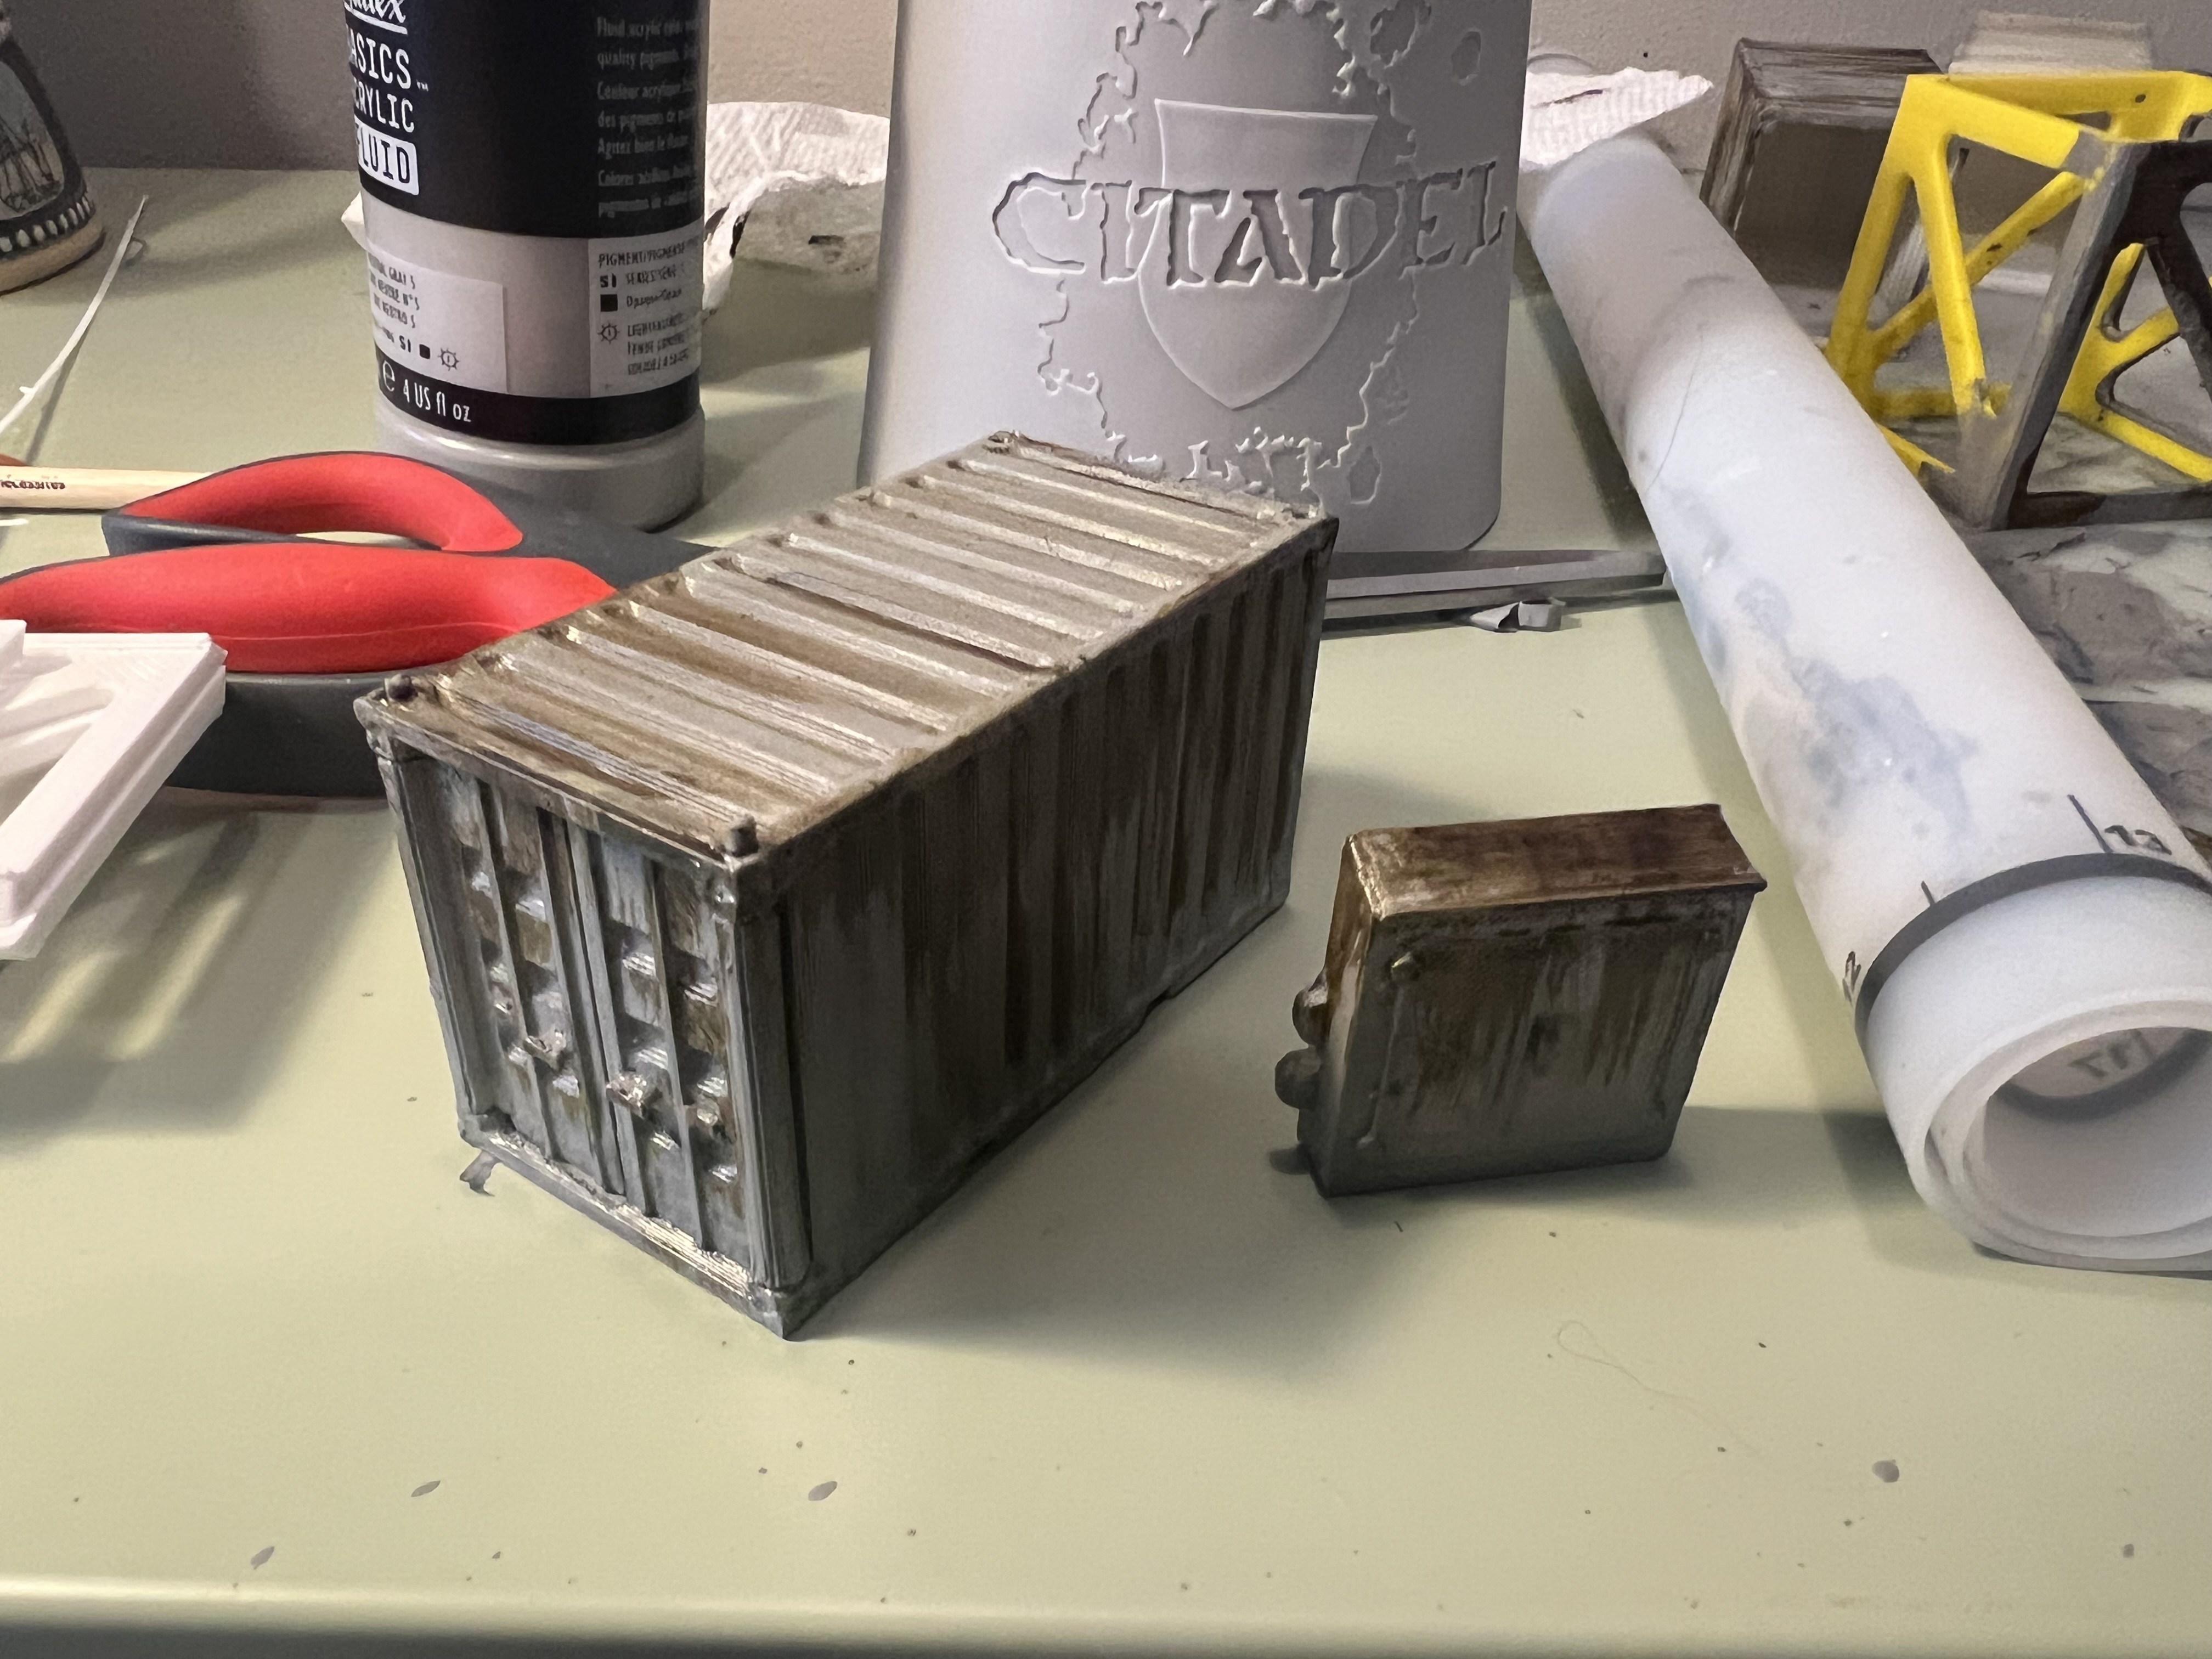
Two printed crates side by side; the upper one bare white plastic with a wash, the lower one primed first and noticeably smoother.
The top is white PLA with only a weathering wash. The bottom is a primer then a weathering wash. The primer helps hide the layer lines from printing.
Several test pieces painted in different bright colors over a gray base, all reading as muddy.
Trying different colors. Bright colors on the gray base doesn't work well. It ends up very muddy.
A finished crate with convincing weathered, rusted paint.
Final look process gives what I think is a good look: First, print in white. You can go darker but you can't go lighter. Then two layers of a thicker primer, a layer of color, then a wash for weathering.
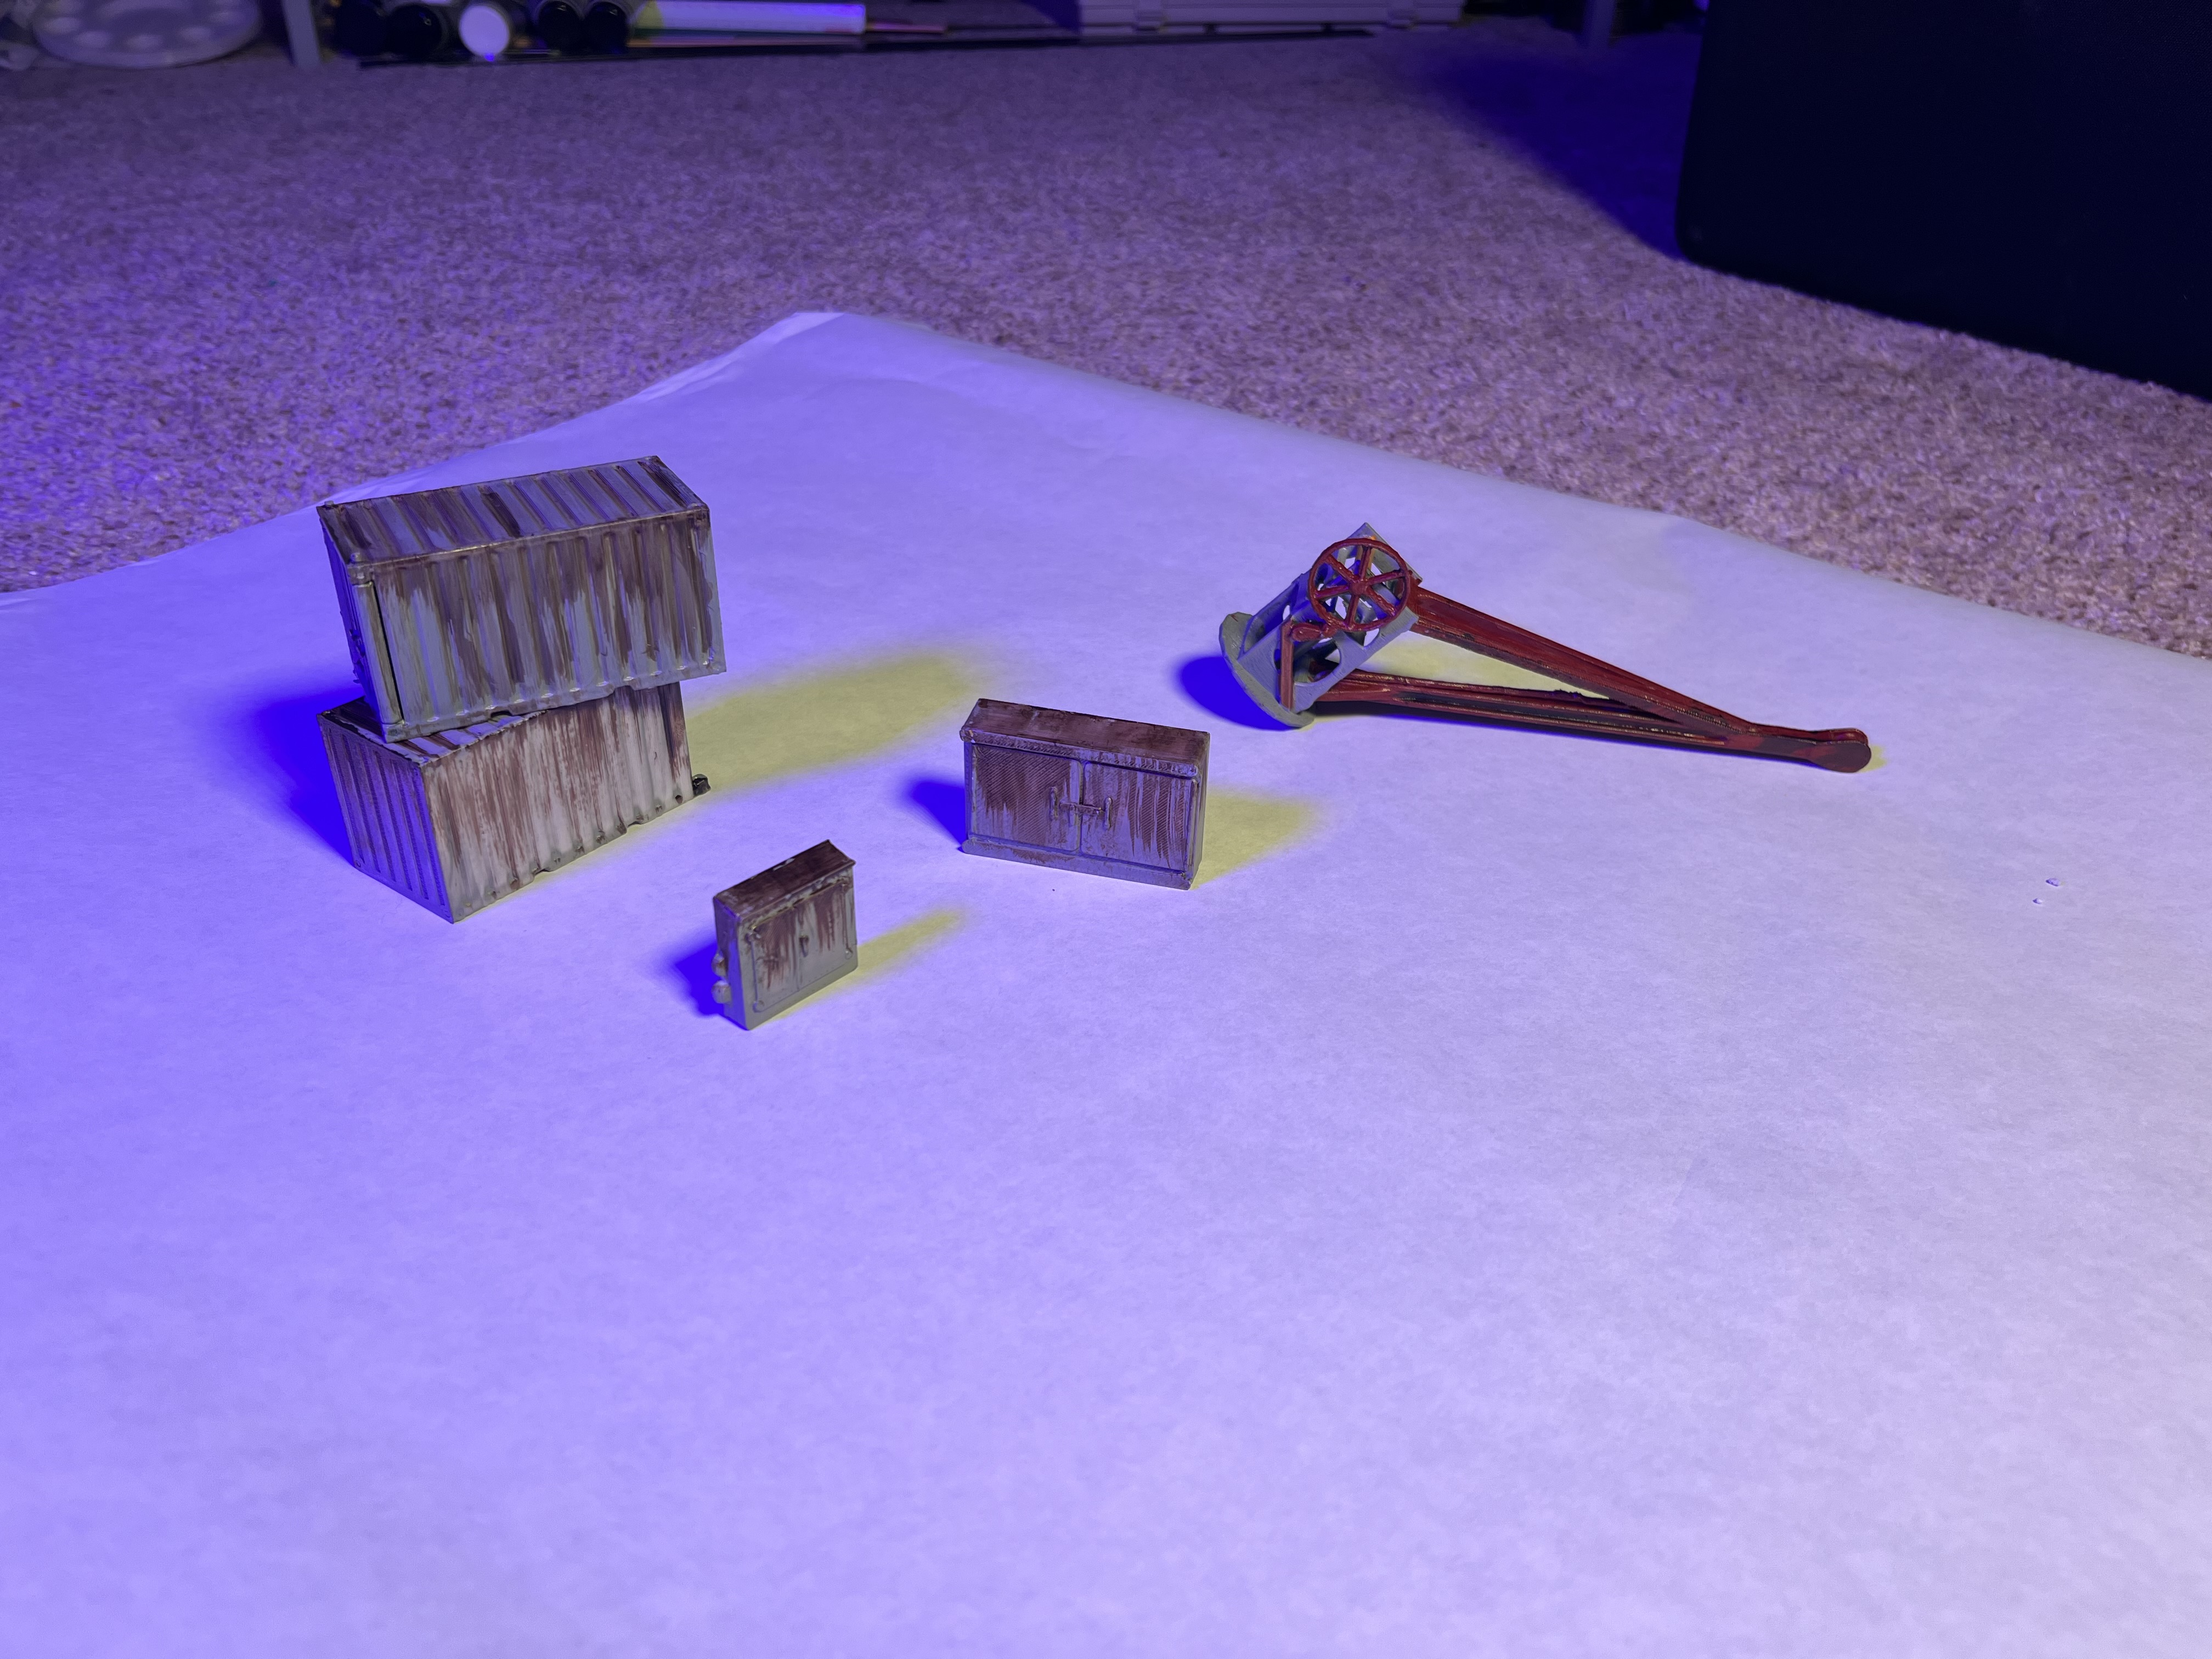
The test pieces photographed under flat diffuse LED panels standing in for daylight.
Testing daytime light. All I have is diffuse LED panels, so this obviously isn't very convincing. Perhaps I just need to take these outside. Color never works the way you expect when you first shine those lights on it.
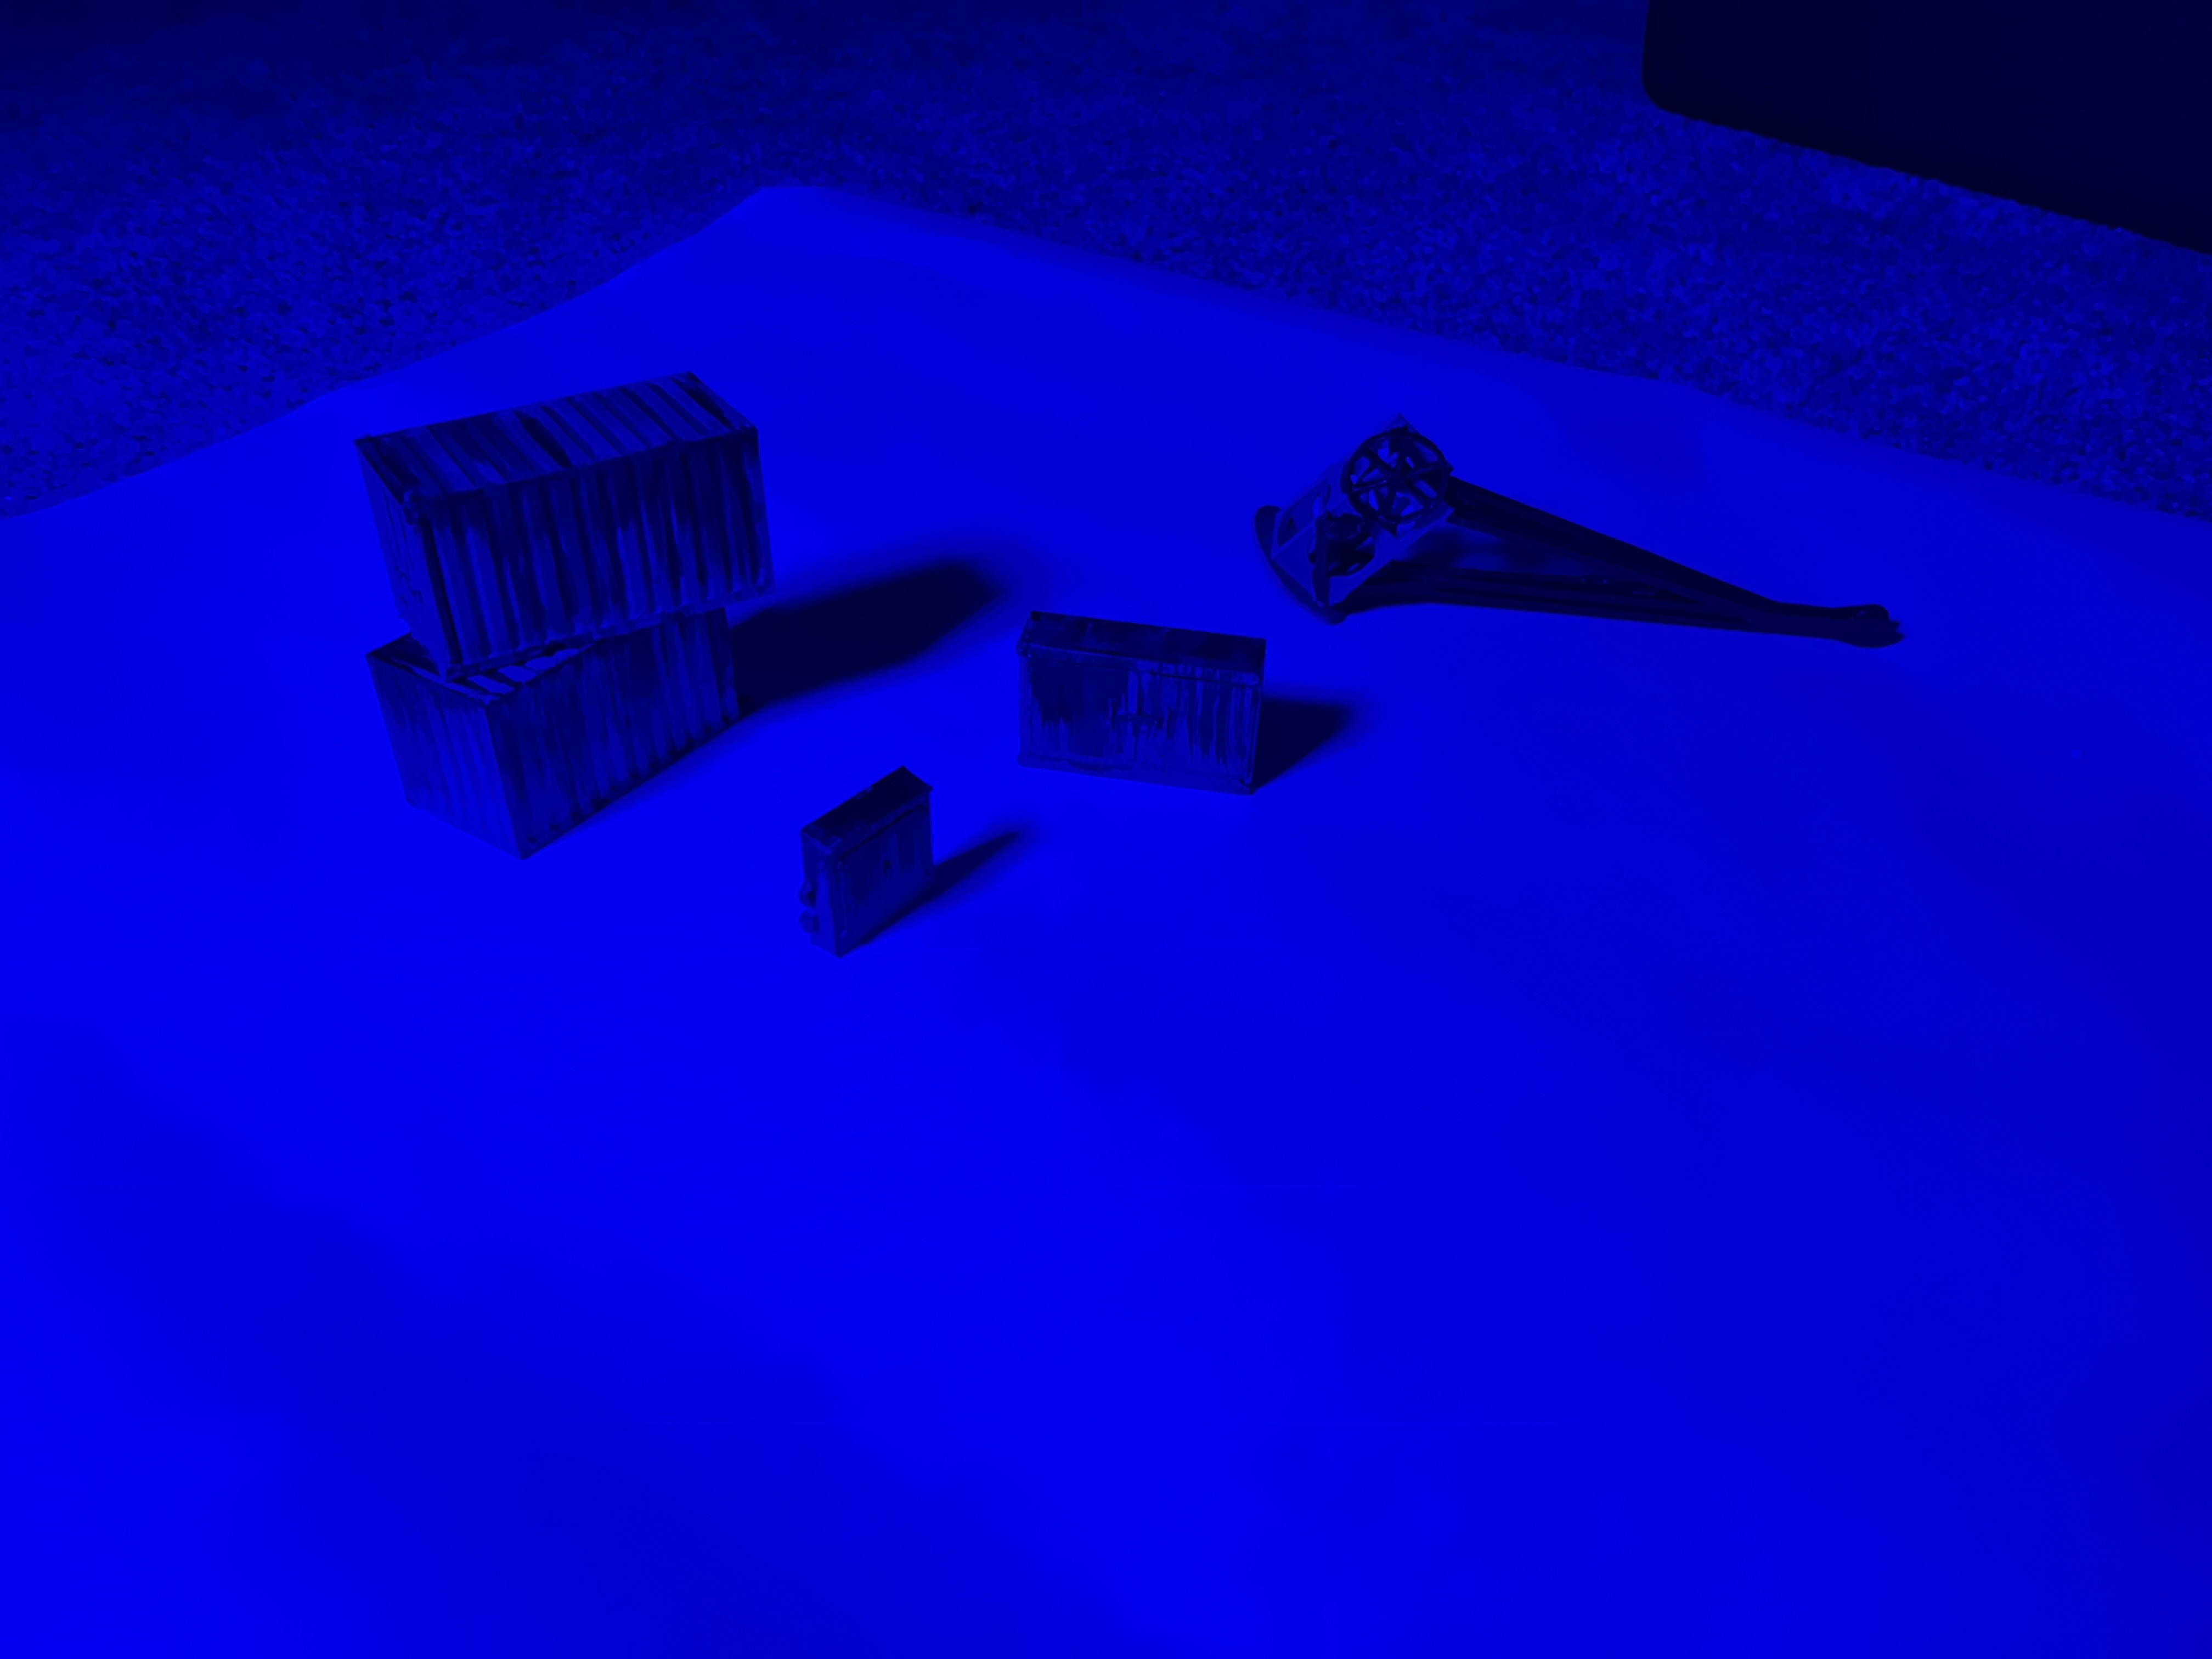
The same test pieces lit blue to simulate night.
Testing night lighting. Not sure if I love this, but blue light might work better than darkness for night.

And with that, I had my proof of concept. Of course, after your first success, your confidence shoots up tremendously, so I went on to work on the main truss.